
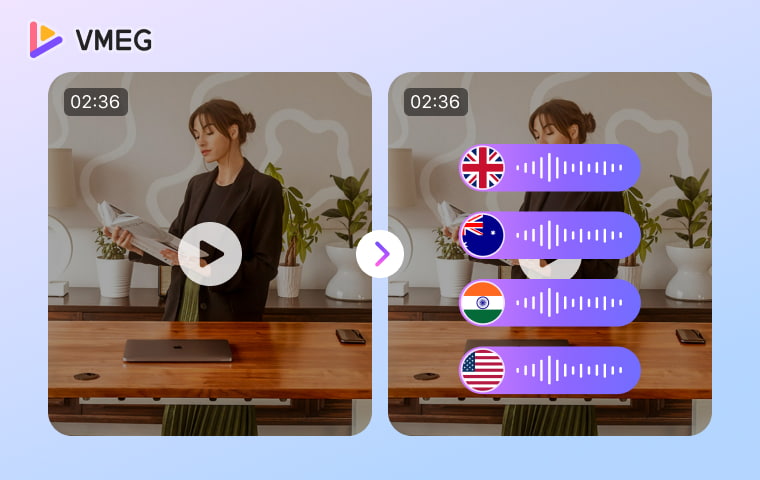
- Start by choosing the deliverable: translated subtitles, dubbed audio, or a fully localized video. The workflow and quality checks differ for each.
- A reliable process is: prepare the source, transcribe, translate, generate subtitles or speech, review, correct, and export.
- Clear audio, a terminology list, correct speaker labels, and a native-language review improve results more than accepting the first automated output.
- YouTube can provide captions and automatic dubbing for eligible content, while a dedicated localization platform gives more control over scripts, voices, timing, subtitles, and export files.
To translate a video, first decide whether viewers need subtitles, translated audio, or both. Then create or import a transcript, translate it for the target locale, generate subtitles or a dubbed track, review the result against the source, and export the required files. An AI video translator can combine these steps, but a person should still check names, numbers, terminology, speaker assignments, pronunciation, timing, and cultural meaning.
The method below works for translating a video into English or another supported language. It also explains when YouTube tools or a subtitle-first manual workflow may be a better fit.
Choose the Type of Video Translation You Need
“Translate a video” can describe three different outputs. Choose before selecting a tool:
Output | What changes | Best fit |
Translated subtitles | Timed text is translated; the original audio remains | Accessibility, quiet viewing, search/discovery support, and lower-complexity localization |
Dubbed audio or video | Spoken dialogue is replaced with translated speech | Viewers who prefer listening in their language, training, marketing, and entertainment |
Full localization | Dialogue, subtitles, on-screen text, terminology, timing, and market-specific details are adapted | Brand, product, regulated, or high-value content where context and consistency matter |
Lip sync is a separate option. Use it when an on-camera speaker’s mouth movements are prominent. It is usually less important for screen recordings, slides, animation, or voiceover footage.
Before You Translate: Prepare the Source
Confirm rights and consent. Make sure you can process, translate, publish, and, when applicable, clone the voices in the video.
Improve the audio. Reduce avoidable noise, use the cleanest source file, and note sections with music, cross-talk, or inaudible speech.
Set the target locale. “Spanish” or “English” may not be specific enough. Choose the market, regional vocabulary, units, formality, and pronunciation standard.
Create a terminology list. Include names, brands, product terms, acronyms, numbers, and phrases that should not be translated.
Define the quality bar. A social clip, a product tutorial, and a medical training video require different reviewers and approval steps.
Method 1: Translate a Video Online with VMEG
VMEG Video Translator combines transcription, translation, dubbing, subtitles, editing, and export in one workflow. The current product supports 170+ languages and 17,000+ AI voices, with voice cloning and multi-speaker recognition. Available settings and account limits may vary.
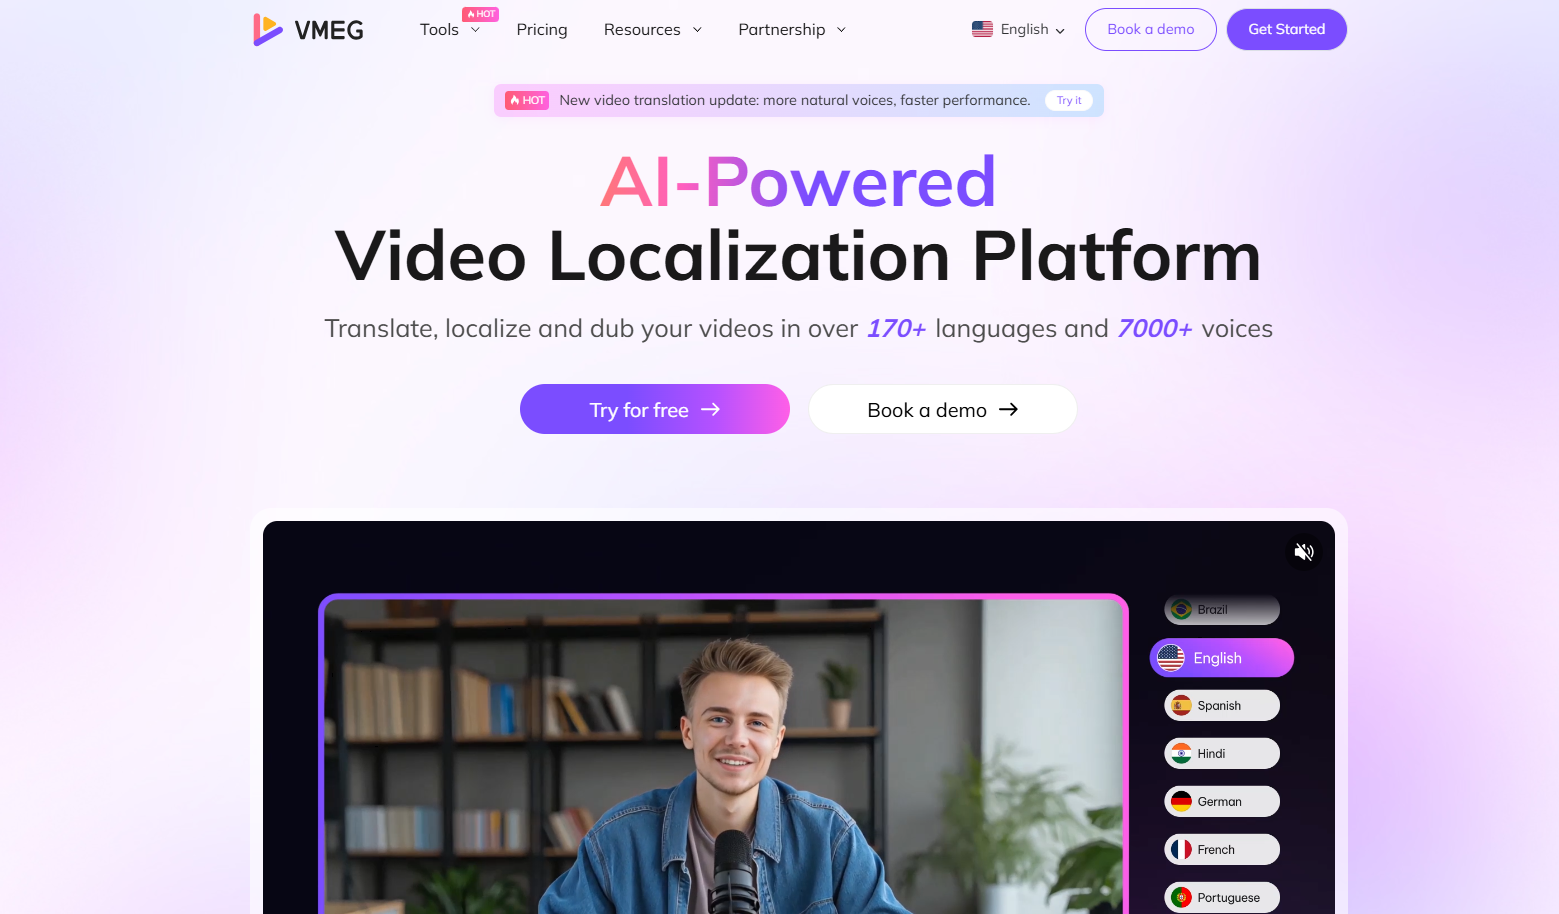
Step 1: Upload a Video or Paste a Supported Link
Open the translator and upload a supported file, select an existing project, or paste a supported public video link. Use content you own or have permission to process. Clear, audible speech gives the transcription stage a better starting point.
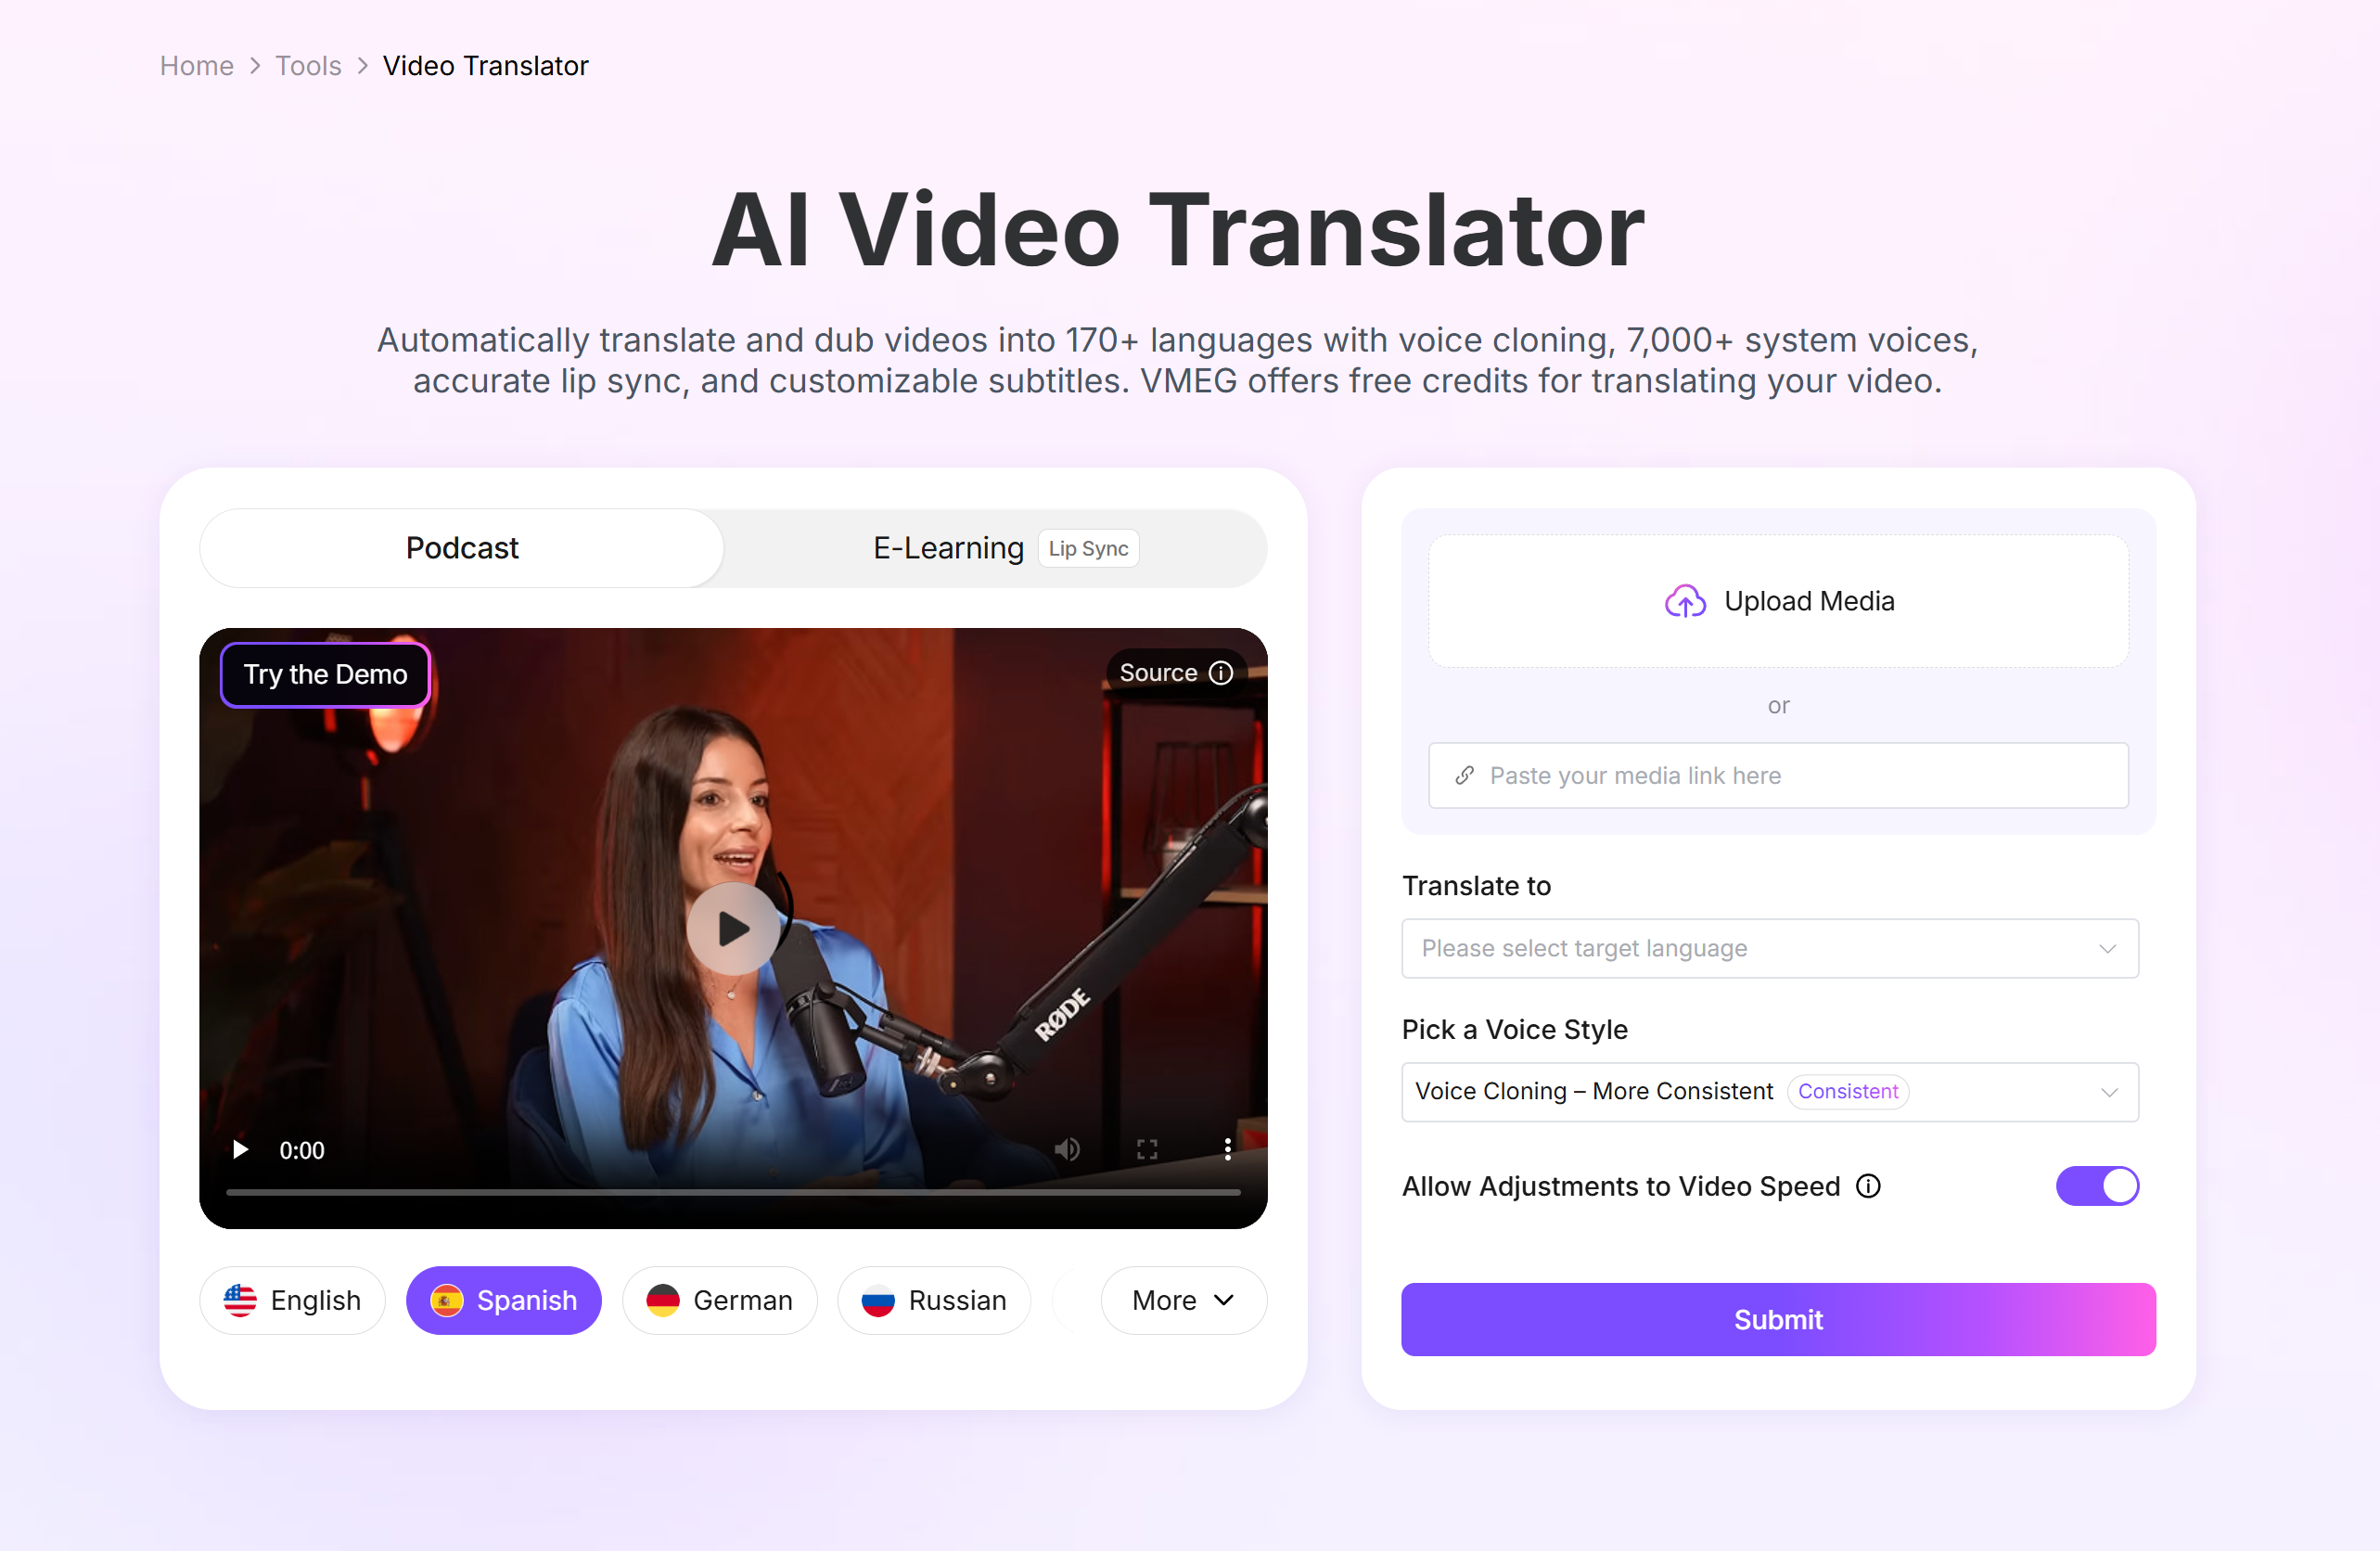
Step 2: Set the Source and Target Languages
Choose the original language or use automatic detection, then select the target language and regional option. If the source contains more than one language or several speakers, use the available multi-language and speaker settings so the system has the right context.
Step 3: Choose Voice and Translation Settings
Select an AI voice or use voice cloning when you have the necessary authorization. Decide whether to add translated subtitles and whether visible speakers require lip sync. For product names or specialized content, use glossary, pronunciation, or translation-prompt controls when available.
Step 4: Generate, Review, and Edit
Submit the translation, then review the result in the editor. Processing time depends on the source, duration, selected options, and current service conditions. Do not treat the first result as final.
Compare the translated project with the source sentence by sentence. Correct the script, switch or reassign speakers, and adjust voice, speed, volume, tone, timing, and subtitles as needed.
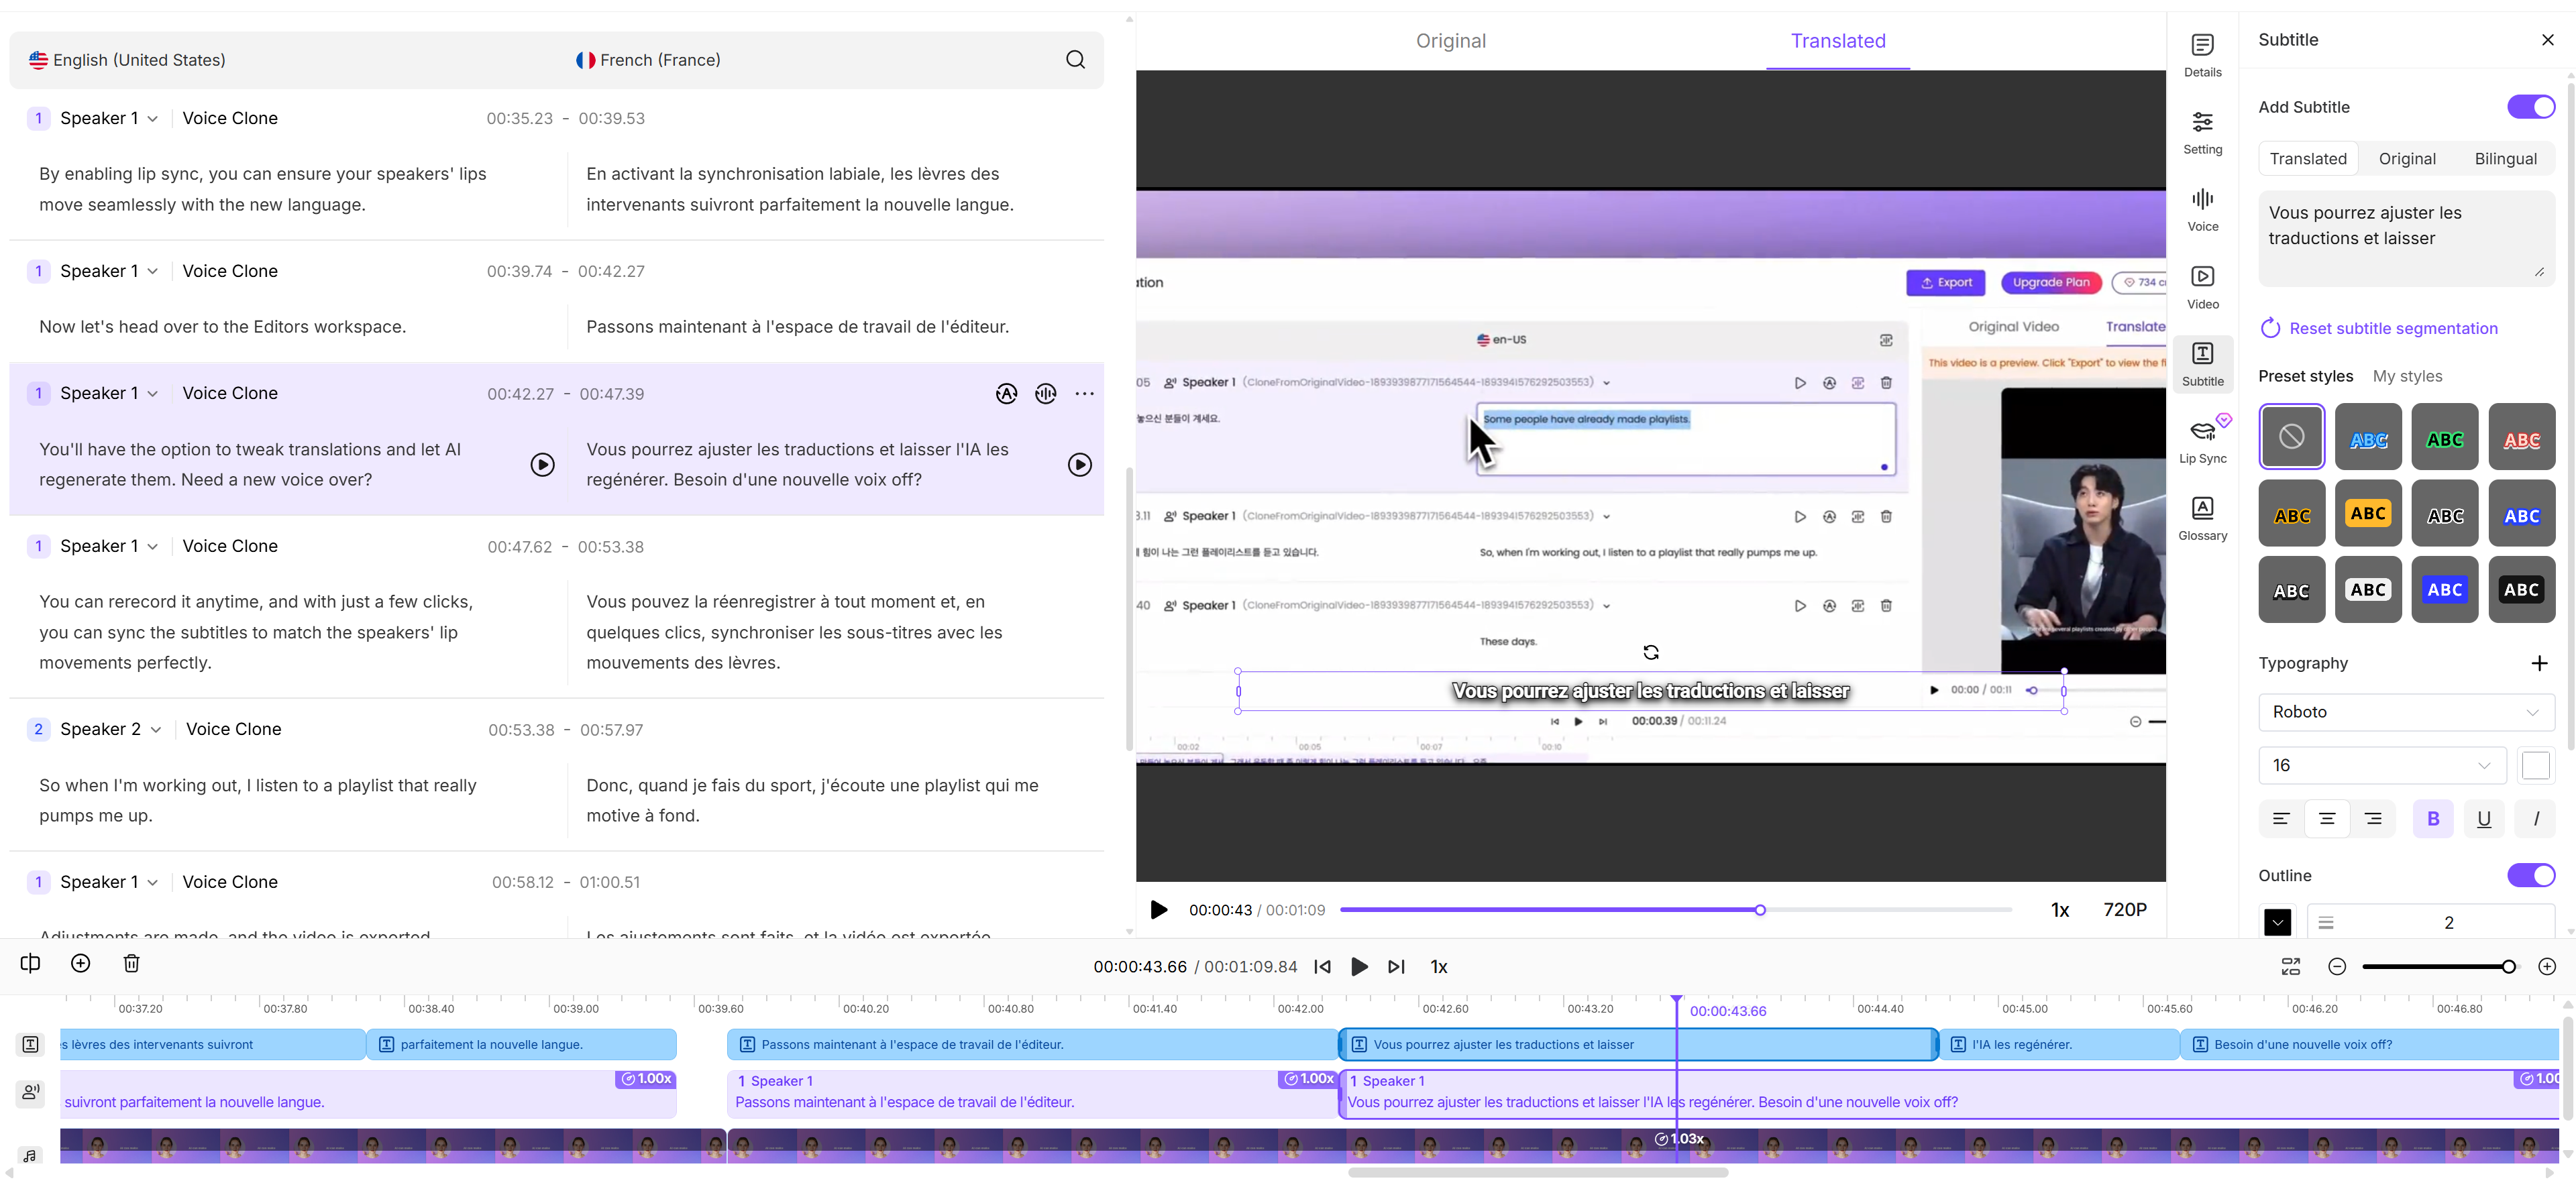
Step 5: Export the Required Deliverables
Preview the final version and export the deliverable supported by your workflow, such as a dubbed video, translated audio, or subtitle file. Keep the reviewed transcript and terminology list with the project so future language versions use the same decisions.
For the current product interface in more detail, see VMEG’s Video Translator Help Center guide.
Method 2: Use YouTube Captions or Automatic Dubbing
YouTube can be sufficient when the video will stay on YouTube and you do not need a separately exported localized file.
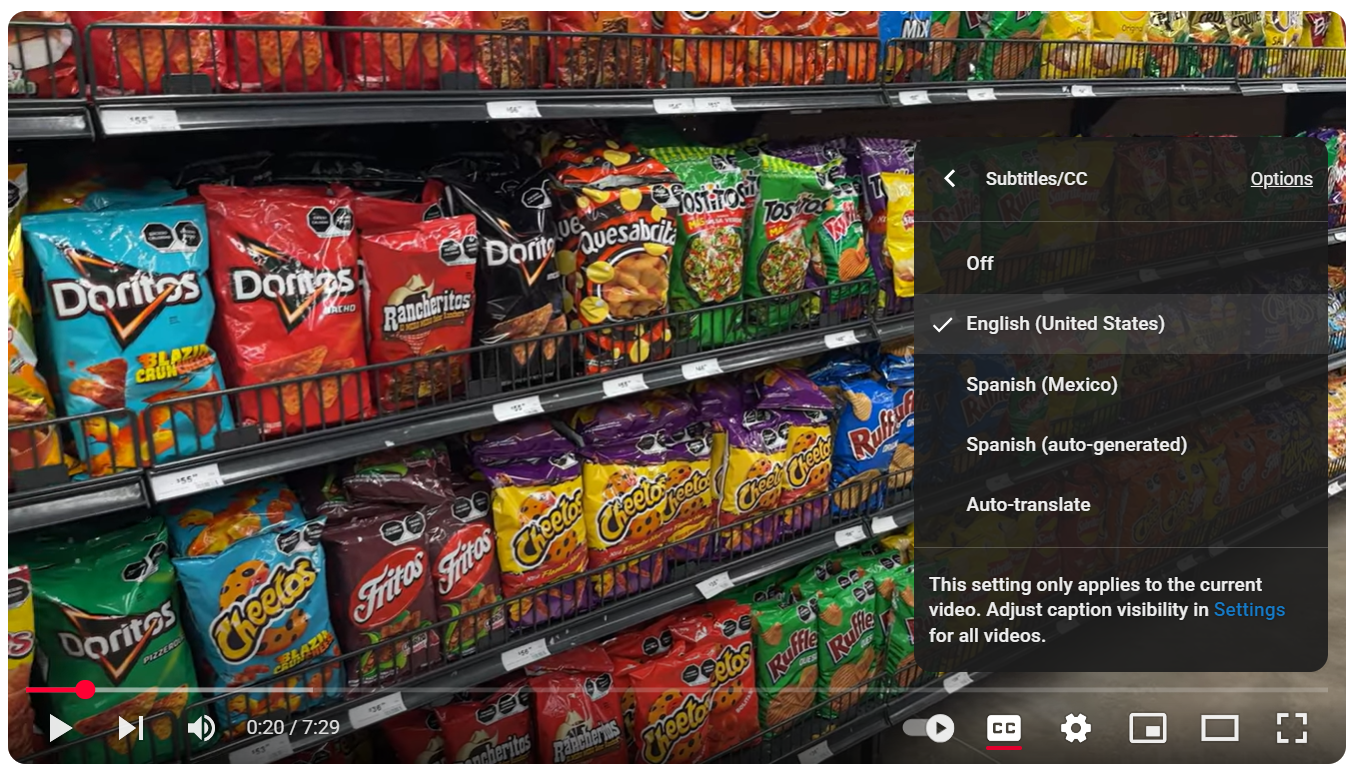
For viewers: if a video has captions, open the captions menu and choose an available language or Auto-translate. This changes the viewing experience; it does not create a reusable translated video file.
For creators: add and review caption tracks, translated titles, and translated descriptions in YouTube Studio. Eligible creators may also have automatic dubbing, with review and publishing controls for generated audio tracks.
YouTube notes that automatic dubs can contain errors caused by pronunciation, accents, dialects, background noise, proper nouns, idioms, and jargon. Review the transcript and audio before publishing when the feature is available. Language access can differ by channel and video.
For detailed platform instructions, see the YouTube automatic dubbing guide and the subtitle and caption guide. For a VMEG-specific workflow, read how to translate YouTube videos.
Method 3: Use a Subtitle-First or Human Translation Workflow
A manual or hybrid workflow gives reviewers direct control over wording and timing. It is often appropriate when you need subtitles rather than a dub, already have an approved script, or are translating regulated, technical, legal, medical, or safety content.
Create an accurate source transcript. You can transcribe manually or use a speech-to-text tool, then correct the result.
Translate and localize the transcript with a qualified reviewer. Protect terms, names, numbers, warnings, and calls to action.
Split the translated text into readable subtitle segments and synchronize the time codes.
Review the subtitles in context, including line breaks, reading time, shot changes, speaker labels, and text already visible in the video.
Export a subtitle file such as SRT or VTT, or use the approved script as the basis for a human or AI dub.
Subtitle editors can help with timing and line breaks, but they do not replace language review. The right process depends on the content risk and the people responsible for final approval.
Which Video Translation Method Should You Use?
Need | AI localization platform | YouTube tools | Subtitle-first or human workflow |
Primary output | Dubbed video, translated audio, subtitles, or a combination | Captions and, when eligible, platform-hosted dubbed audio | Approved transcript and subtitle files; dubbing can be added separately |
Editing control | Varies by platform; often includes script, voice, speaker, subtitle, and timing controls | Caption and dub review tools inside YouTube | High control over wording and subtitle timing |
Best fit | Creators and teams producing downloadable multilingual versions | Videos published and consumed mainly on YouTube | High-stakes content, approved terminology, or subtitle-only delivery |
Main limitation | Automated output still requires review; credits and features vary | Availability varies, and outputs remain tied to the YouTube workflow | More coordination and manual work |
Video Translation Quality Checklist
Review the final video in full, not only the transcript.
Source transcript: correct names, numbers, acronyms, omitted words, and speaker labels.
Translation: preserve meaning, intent, tone, terminology, local units, and culturally appropriate phrasing.
Dubbed audio: check pronunciation, voice assignment, pacing, pauses, emotion, and background-audio balance.
Subtitles: check timing, line breaks, reading speed, punctuation, positioning, and overlap with on-screen graphics.
Lip sync: inspect close-ups, profile angles, fast cuts, occluded mouths, and sentences that expand in translation.
Visual localization: translate or replace important text embedded in slides, labels, screenshots, and graphics when the selected tool does not do so.
Publishing: add the correct language label, title, description, captions, and audio track. Test playback on the destination platform.
Common Problems and How to Fix Them
Names and product terms are translated incorrectly: correct the source transcript and add a glossary, pronunciation rule, or do-not-translate list.
Several speakers become one voice: correct speaker labels and assign a distinct approved voice to each person.
The dub sounds rushed: shorten the translated sentence without losing meaning, adjust pacing, or allow the video duration to change.
Subtitles are hard to read: reduce line length, split at natural phrase boundaries, and give viewers enough time before the next caption.
Lip sync looks unnatural: revise timing and phrasing, then recheck visible speech. Disable lip sync when the footage does not benefit from it.
On-screen text remains in the source language: update the original graphics or use a separate visual-localization step.
Frequently Asked Questions

